How to use Script Node
Overview
The Script Node is available in Journey Builder V2 for bot designers who need to perform lightweight custom scripting inside a conversational journey.
It can be used for scenarios where the required logic is difficult to implement using standard Journey Builder nodes such as the JSON Handler Node, Expression Library, Modify Variable Node, or other low-code alternatives.
The Script Node allows bot designers to write JavaScript that can modify variables, transform data, prepare payloads, or perform other supported lightweight logic during journey execution.
Where to Find the Script Node
The Script Node is available under the Action Nodes category in the Journey Builder node panel.
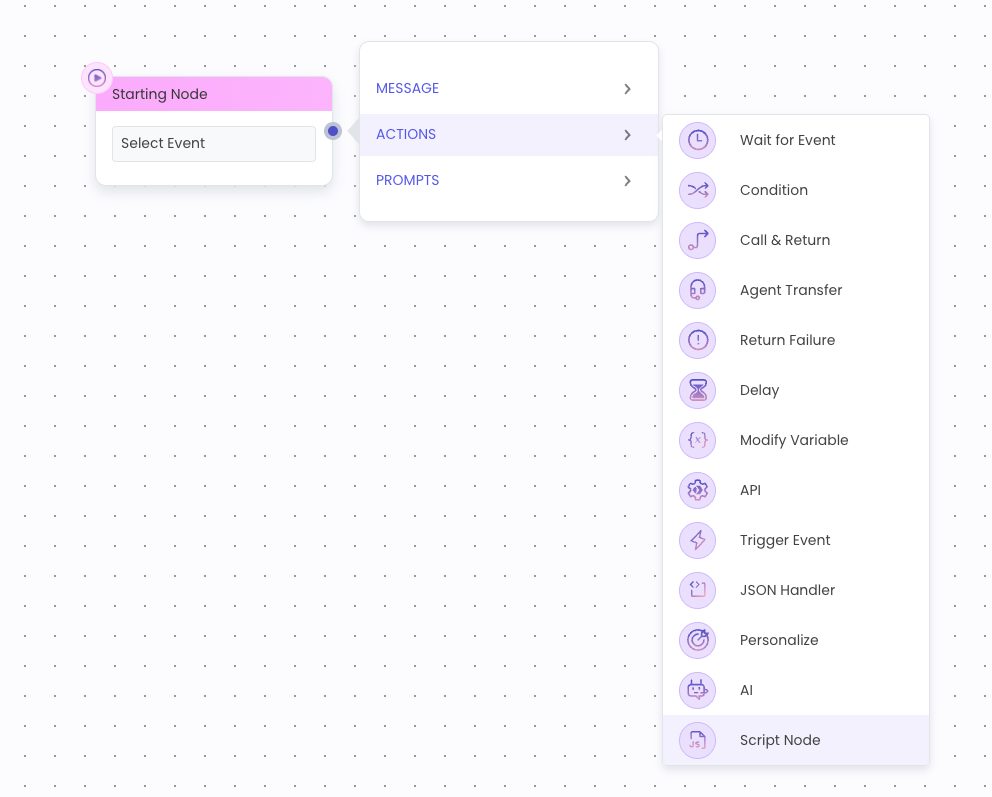
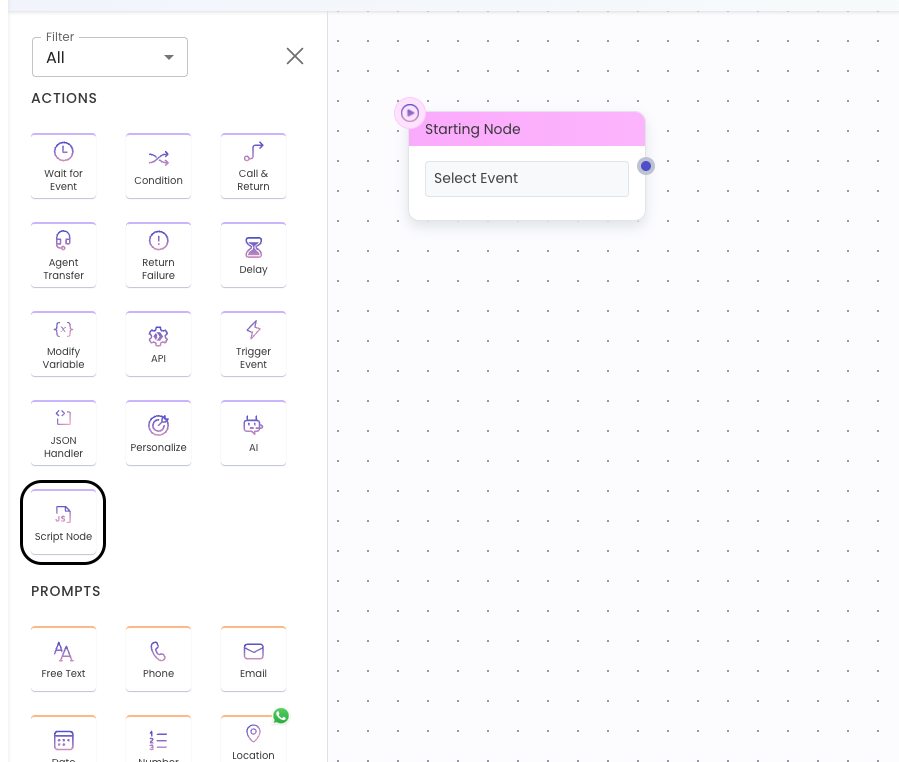
To add a Script Node
- Open the required journey in Journey Builder V2.
- Go to the node panel.
- Open the Action Nodes category.
- Drag and drop the Script Node onto the canvas.
- Connect it to the required point in the journey flow.
Once added, the Script Node becomes part of the journey execution path and will run when the end user reaches that node during runtime.
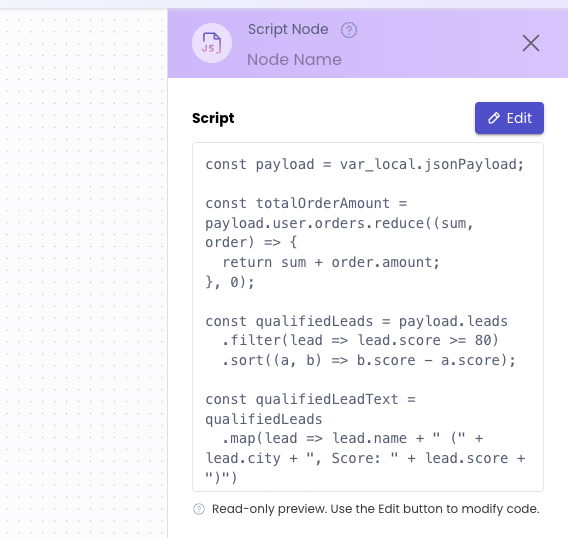
Opening the Script Node
To configure the Script Node
- Click the Script Node on the canvas.
- A right-side configuration panel will open.
- The panel will show the currently available script for the node, if any.
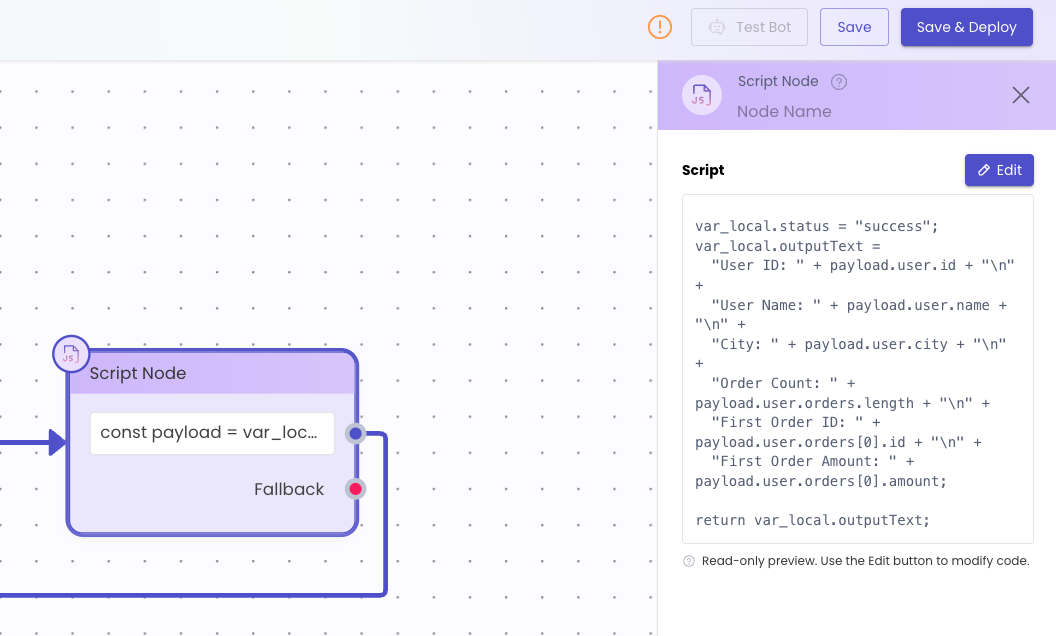
If a script already exists in the node, bot designers can view it in a read-only format from the right-side panel.
This allows users to review the script without accidentally modifying it.
Viewing an Existing Script
When a Script Node already contains code:
- Click the Script Node on the canvas.
- View the existing script in the right-side panel.
- The script will be displayed in read-only mode.
Read-only mode helps prevent accidental edits while still allowing bot designers to inspect the logic configured in the node.
Editing or Adding a Script
To add a new script or edit an existing one
- Click the Script Node on the canvas.
- In the right-side panel, locate the script text box.
- Click the Edit button above the code text box.
- The Script Editor will open.
- Write or update the required JavaScript logic in the editor.
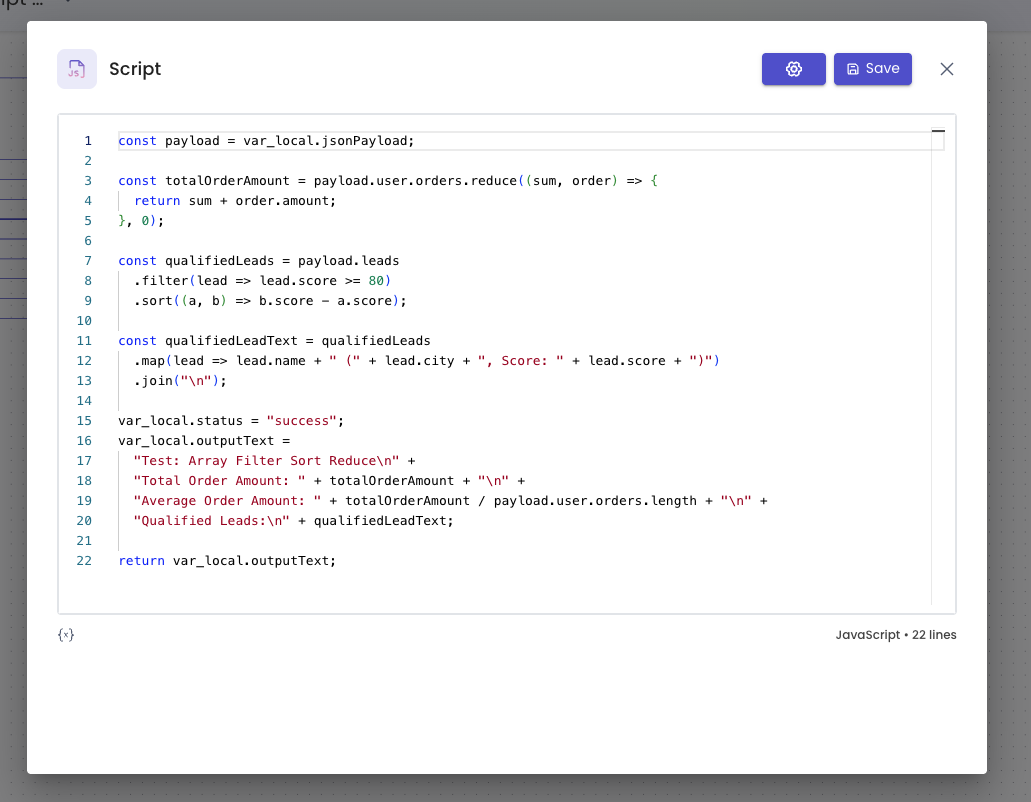
The Script Editor provides a larger editing experience where bot designers can write, review, and update their script more comfortably.
Referring to Variables in the Script
Bot designers can refer to Journey Builder variables inside the script.
Variables can be added or referenced manually in the script, or inserted using the variable selector.
To add a variable
- Open the Script Editor.
- Click the Add Variable icon.
- The Add Variable icon is available near the script text box, at the bottom-left area of the editor.
- Select the required variable.
- The selected variable reference will be inserted into the script.
Example Variable Reference
var_local.customerNameBot designers should ensure that the required variables are already created in the journey before referring to them in the script.
Saving the Script
Once the script is written or updated:
- Click the Save button in the Script Editor.
- The script will be saved for the selected Script Node.
- After saving, the script becomes usable in the node.
During runtime, the saved script will execute when the end user reaches this Script Node in the journey.
If the script modifies variables, those updated values can be used in subsequent nodes in the journey.
Runtime Execution
The Script Node executes when the conversation reaches that specific node in the journey flow.
At Runtime
- The end user reaches the Script Node.
- The saved script is executed.
- Any supported variable updates or transformations are performed.
- The journey proceeds to the next connected node if execution is successful.
- If execution fails, the configured fallback path is triggered, where applicable.
Bot designers should keep scripts concise and optimized to ensure smooth runtime execution.
Using Libraries in Script Node
If a bot designer wants to use a supported library inside the Script Node, they can manage libraries from the Script Node settings.
To open library settings
- Open the Script Node.
- Click the Edit button to open the Script Editor.
- Click the Settings button.
- The Settings modal will open.
- Go to the Manage Library Version tab.
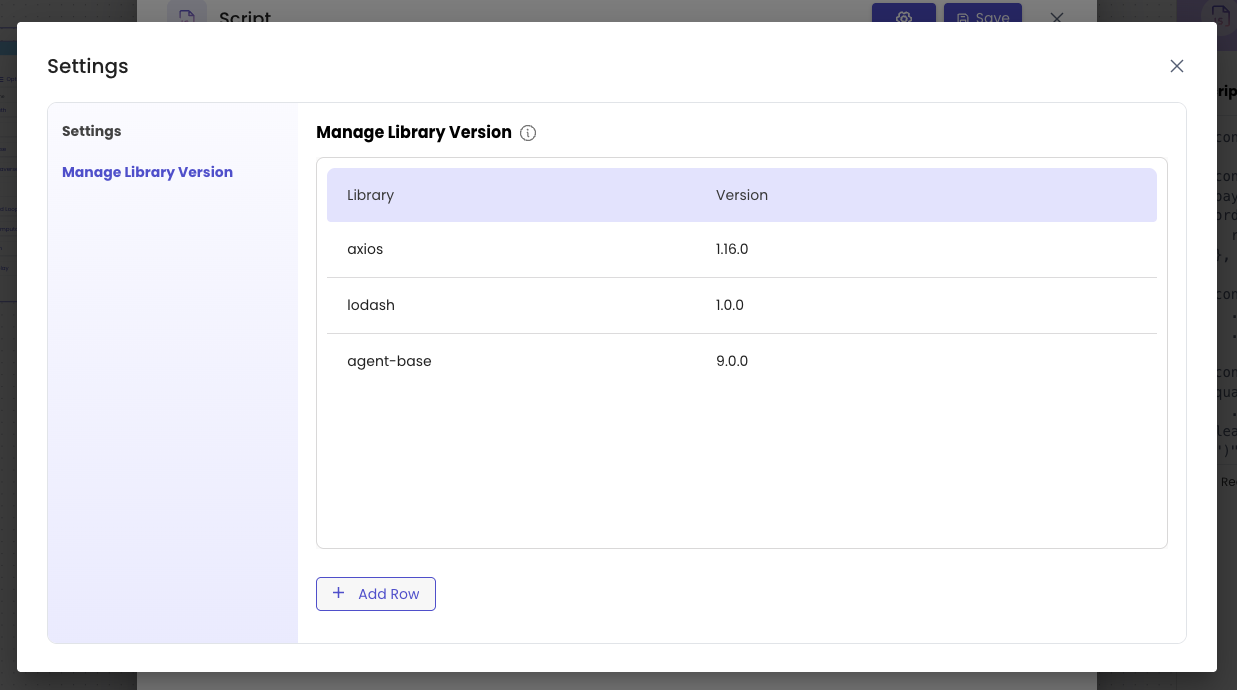
From this tab, bot designers can view, add, edit, or delete supported libraries for the project.
Adding a Library
To add a new library
- Open the Script Node editor.
- Click the Settings button.
- Go to the Manage Library Version tab.
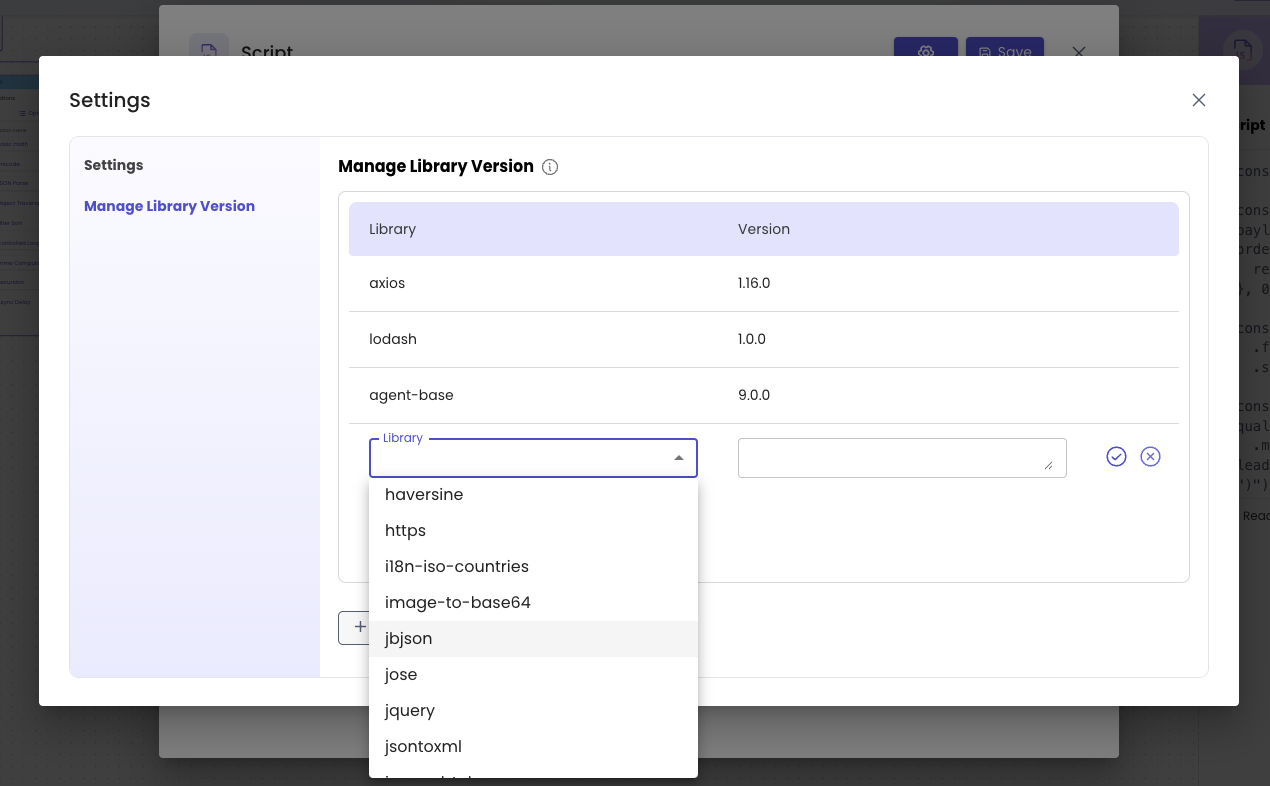
- Click Add Row.
- In the new row, use the dropdown on the left side of the table to select a library.
- Enter the required library version.
- Click Save.
Once saved, the selected library version will be imported and made available on the backend.
The library can then be used across all Script Nodes available in that particular project.
Library Version Guidelines
When adding or updating a library version:
- Enter a valid version number.
- Ensure the version is available and supported.
- Avoid using incorrect or incomplete version values.
- Use only the libraries available in the dropdown.
- Do not assume that unsupported libraries can be imported manually.
If the library or version is invalid, the import may fail.
Project-Level Library Availability
Libraries added from the Manage Library Version tab are available at the project level.
This Means
- A library added once can be used across all Script Nodes in the same project.
- The same library does not need to be added separately for every Script Node.
- Library changes may affect other Script Nodes in the same project if they depend on the updated library version.
Bot designers should review usage carefully before deleting or updating a library version.
Legacy Libraries in Migrated Projects
If the project has been migrated from Legacy Journey Builder, some older libraries may be visible in the Manage Library Version tab.
These libraries will be marked as legacy libraries.

Legacy Libraries
- Were available in the earlier Legacy Code Node setup.
- Are available only for that migrated project.
- Cannot be used in other projects.
- May not be editable.
- May not be available in the library dropdown for new projects.
- Are retained only to support migration compatibility.
These libraries are shown so that migrated scripts can continue to function without requiring immediate manual rewriting.
Note: Bot designers are advised to switch to alternate supported libraries or approaches for the unsupported libraries if possible.
Deleting a Library
To delete a library
- Open the Script Node editor.
- Click the Settings button.
- Go to the Manage Library Version tab.
- Locate the library that needs to be removed.
- Click the Delete icon.
- Confirm the deletion, if prompted.
Before deleting a library, ensure that no Script Node in the project depends on it.
Deleting a library that is being used by a script may cause execution failures.
Editing or Updating a Library Version
To update the version of an existing library
- Open the Script Node editor.
- Click the Settings button.
- Go to the Manage Library Version tab.
- Locate the library that needs to be updated.
- Click the Edit icon.
- Enter the updated library version.
- Click Save.
Once saved, the updated version will be imported and made available for Script Nodes in the project.
Bot designers should validate affected scripts after updating a library version.
Updated 2 months ago