API Node
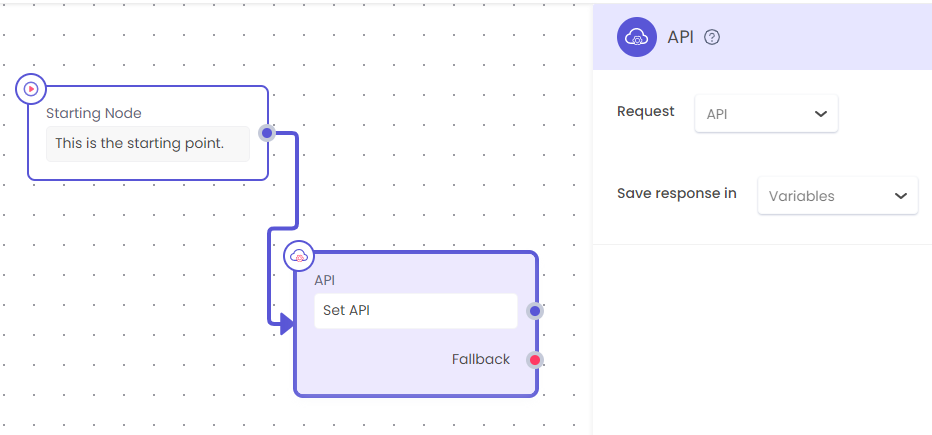
Request an API response in the conversation flow using the API Node. API node has a dropdown to select the API that you want to use. API action node allows you to hit an API at that point of the flow, and store the API response in a variable for further use.
API Node
When to use
In case of any integrations with external systems for use cases like:
- Fetching user details for external system
- Pushing user details to any other system
- Updating any details on an external system
And many more...
How to use
To use the API Node in Gupshup's Journey Builder, follow this step-by-step guide. The API Node allows you to call external APIs and use the response data within your bot flows. Here's how you can configure and use it effectively:
🔧 Where to Find It
- Open any journey on the Journey Builder Canvas.
- Go to the left-hand menu under Action Nodes.
- Drag the API Node onto the canvas.
🛠️ How to Configure It
- Add an API Node
- Click the +Add new API on the API Node dropdwon
- Configure the API Request In the right configuration panel:
- HTTP Method: Choose from GET, POST, PUT, DELETE.
- URL: Provide the endpoint you want to call.
- Headers: Add any necessary headers (e.g., Authorization tokens).
- Body: For POST/PUT, define the payload (you can use variables inside {{ }}).
- Parse the API Response
- Use the JSON Handler Node (newly introduced) after the API Node to map JSON attributes into variables. This allows non-technical users to easily parse and use complex API responses.
- Variable Mapping. Store API response data in variables by enabling response mapping.
For example, map response.user.name to a local variable userName.
🔍 Example Use Case
Let's say you want to fetch order details from your system:
- API Endpoint: https://api.example.com/order/{{orderId}}
- Use an API Node to call this URL.
- Extract
order_status,delivery_dateusing the JSON Handler. - Show these details using Text or Quick Reply nodes.
🧠 Advanced Options
- Use Modify Variable Node + Expression Library to manipulate data post-response (e.g., formatting dates or conditions).
- Use the Condition Node to branch logic based on API output.
✅ Best Practices
- Always handle failure cases (e.g., 500, 404) by using fallback nodes.
- Test your journey using the Test Bot before going live.
- Use Global or Local Variables for dynamic values in API calls.
API Endpoint Validations for Security
API endpoints added to the API node undergo mandatory validations to ensure secure and compliant usage. Below are the enforced conditions:
✅ Allowed Conditions:
- The URL must begin with https://
- The domain name must be valid and consist of allowed characters (letters, numbers, and limited special characters)
- The domain must include a dot (.) followed by a proper Top-Level Domain (TLD) like .com, .io, etc.
- Optional paths (e.g., /api/v1) are allowed with valid characters
❌ Restricted / Not Allowed Conditions:
- URLs that do not use https (e.g., http, ftp) are disallowed
- Domains that start or end with a hyphen (-) are rejected
- The TLD must only contain lowercase letters and be between 2 to 63 characters long
- IP addresses (e.g., 127.0.0.1) or localhost are not accepted
- Internal or private network domains are likely to be rejected
- Domains with invalid or disallowed characters (outside the defined character set) are not permitted
Updated about 1 year ago