Add Members
Here is a step-by-step guide on how to add members to a project on Console.
Step 1: Log in as a Project Admin on Console
To add members to a project, you must first log in as a Project Admin on Console. You can do this by using the link provided in the instructions.
Step 2: Navigate to the Members Tab
Once you have logged in, navigate to the Members tab under Manage Project on the left navigation bar.
Step 3: Click on Add Members
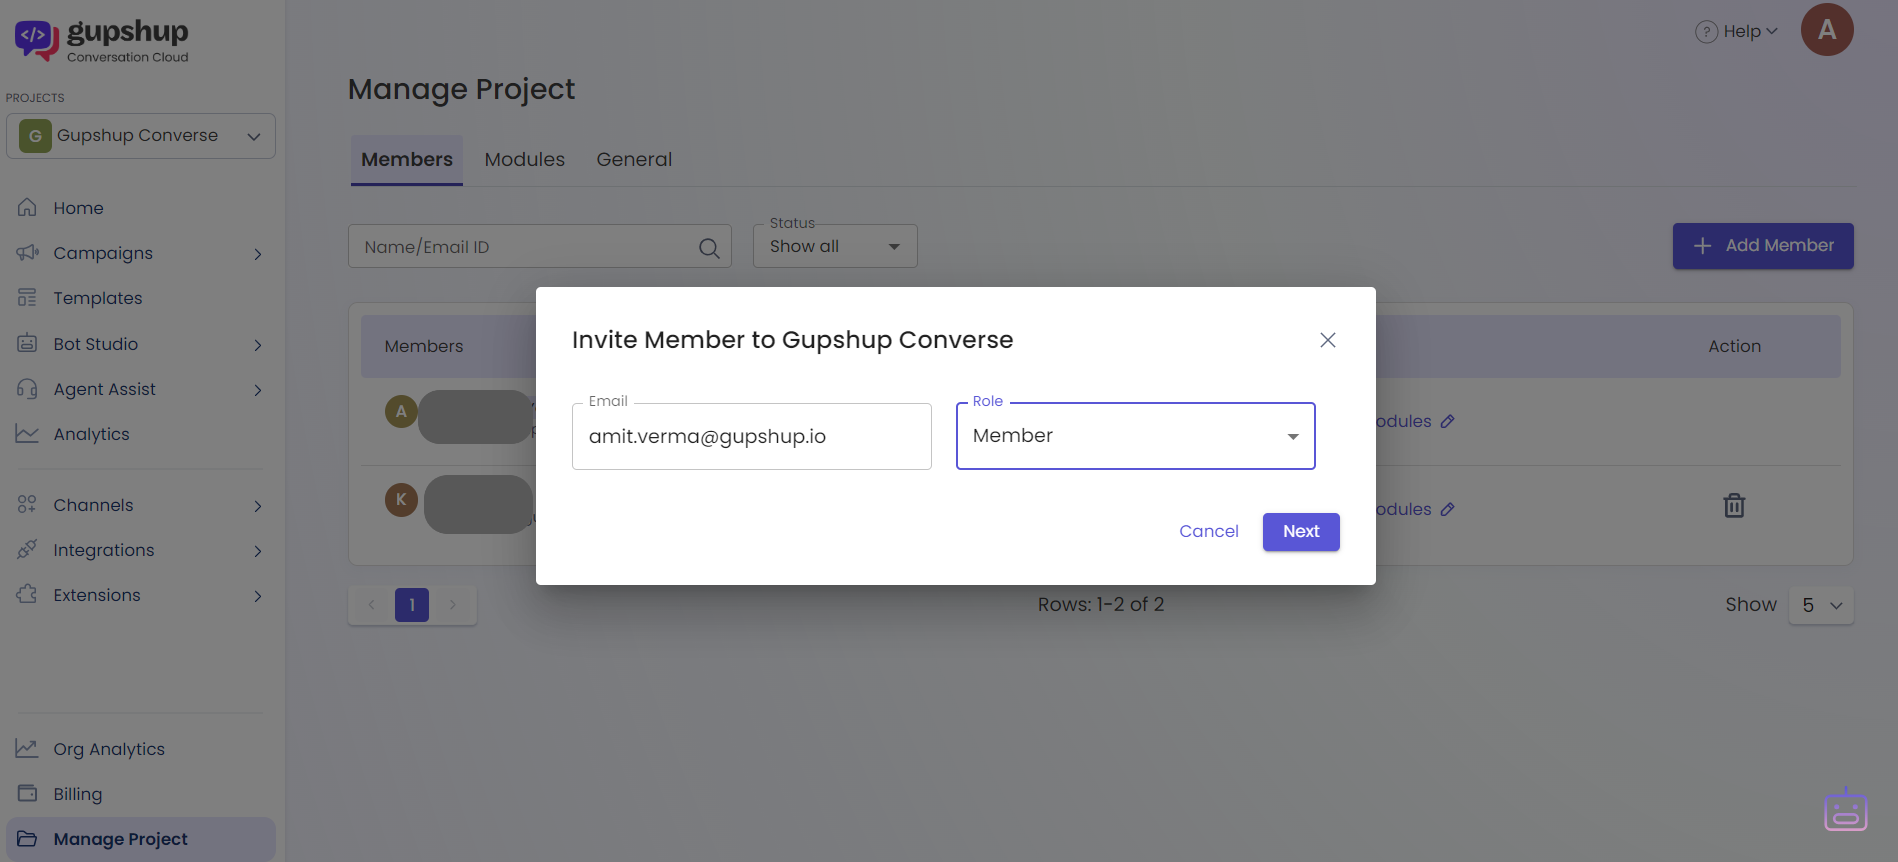
On the Members tab, click on "Add Members" to begin adding new members to your project.

Step 4: Enter the Email Address and Assign a Role
Enter the email address of the member you wish to add to the project and assign a role. The available roles are Project Admin and Member.
Step 5: Click on Invite
After assigning a role, click on "Invite" to send an invitation to the new member to join the project.
Step 6: Assign Modules to the Member
Once the member has accepted the invitation and signed up on Console, assign modules to them by clicking on "Assign Modules."
Step 7: Member Verification
An email will be sent to the member with a link to accept the invite and sign up on Console. The link will be valid for 7 days. If the member doesn't complete the verification within 7 days, the Project Admin can resend the invite with a new link.
If you have any questions or concerns regarding adding members to a project on Console, you can always contact [email protected] for assistance.
Updated about 1 year ago