Go Live with Instagram

Linking your Instagram account

  • Log in to Gupshup Conversational Cloud and go to Instagram under Channels.
  • Ensure that you have all the prerequisites and then click Go Live.
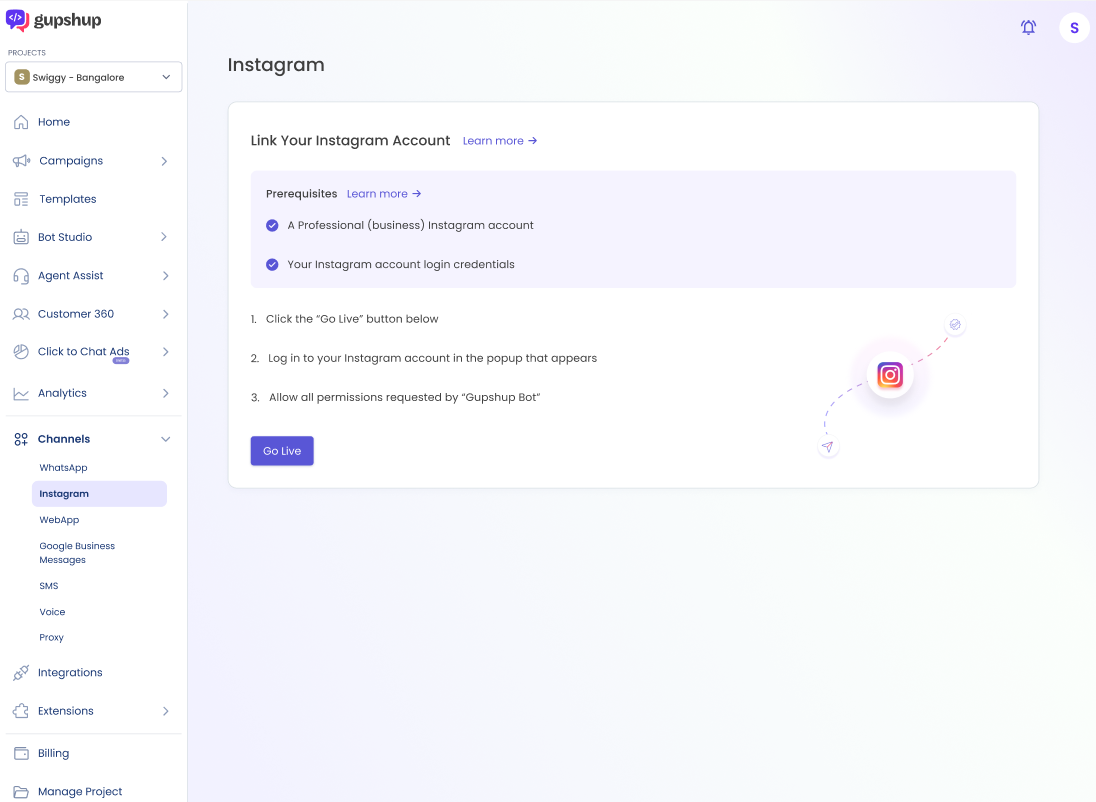
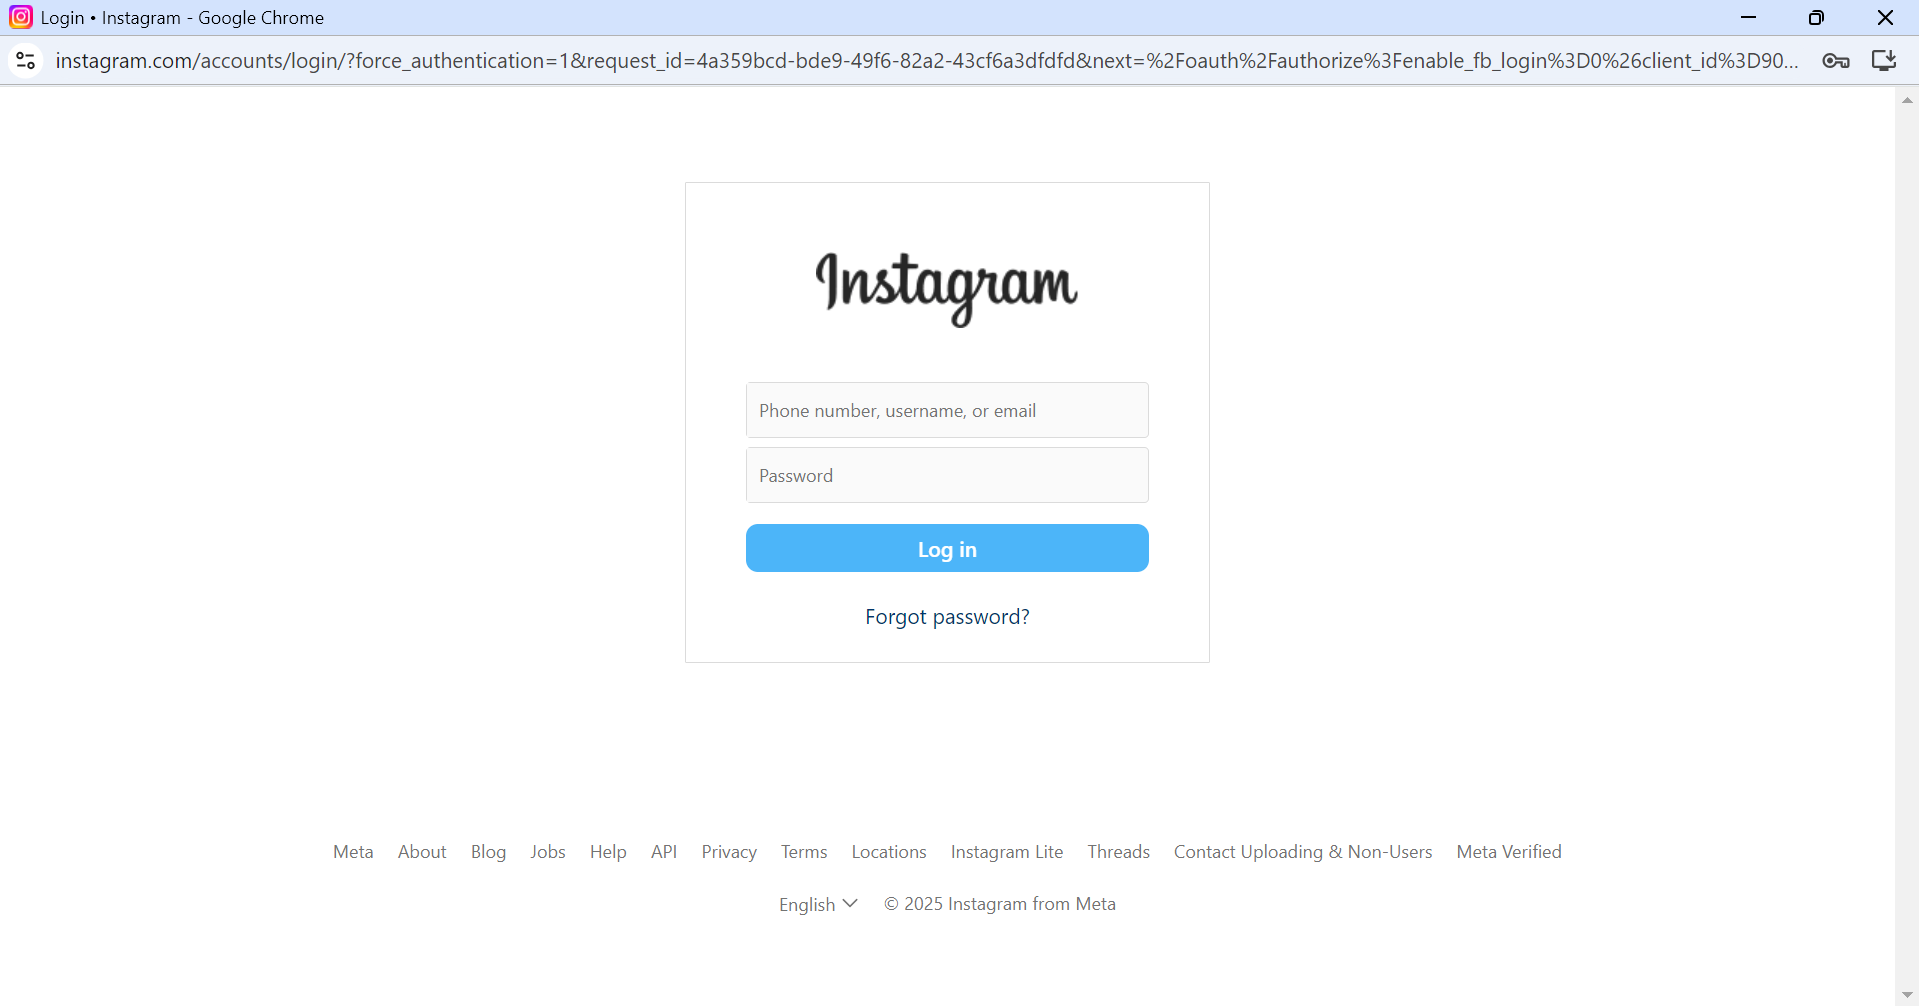
  • A new window prompting you to log in to your Instagram account will open.
  • Log in with your Instagram credentials in the new window.
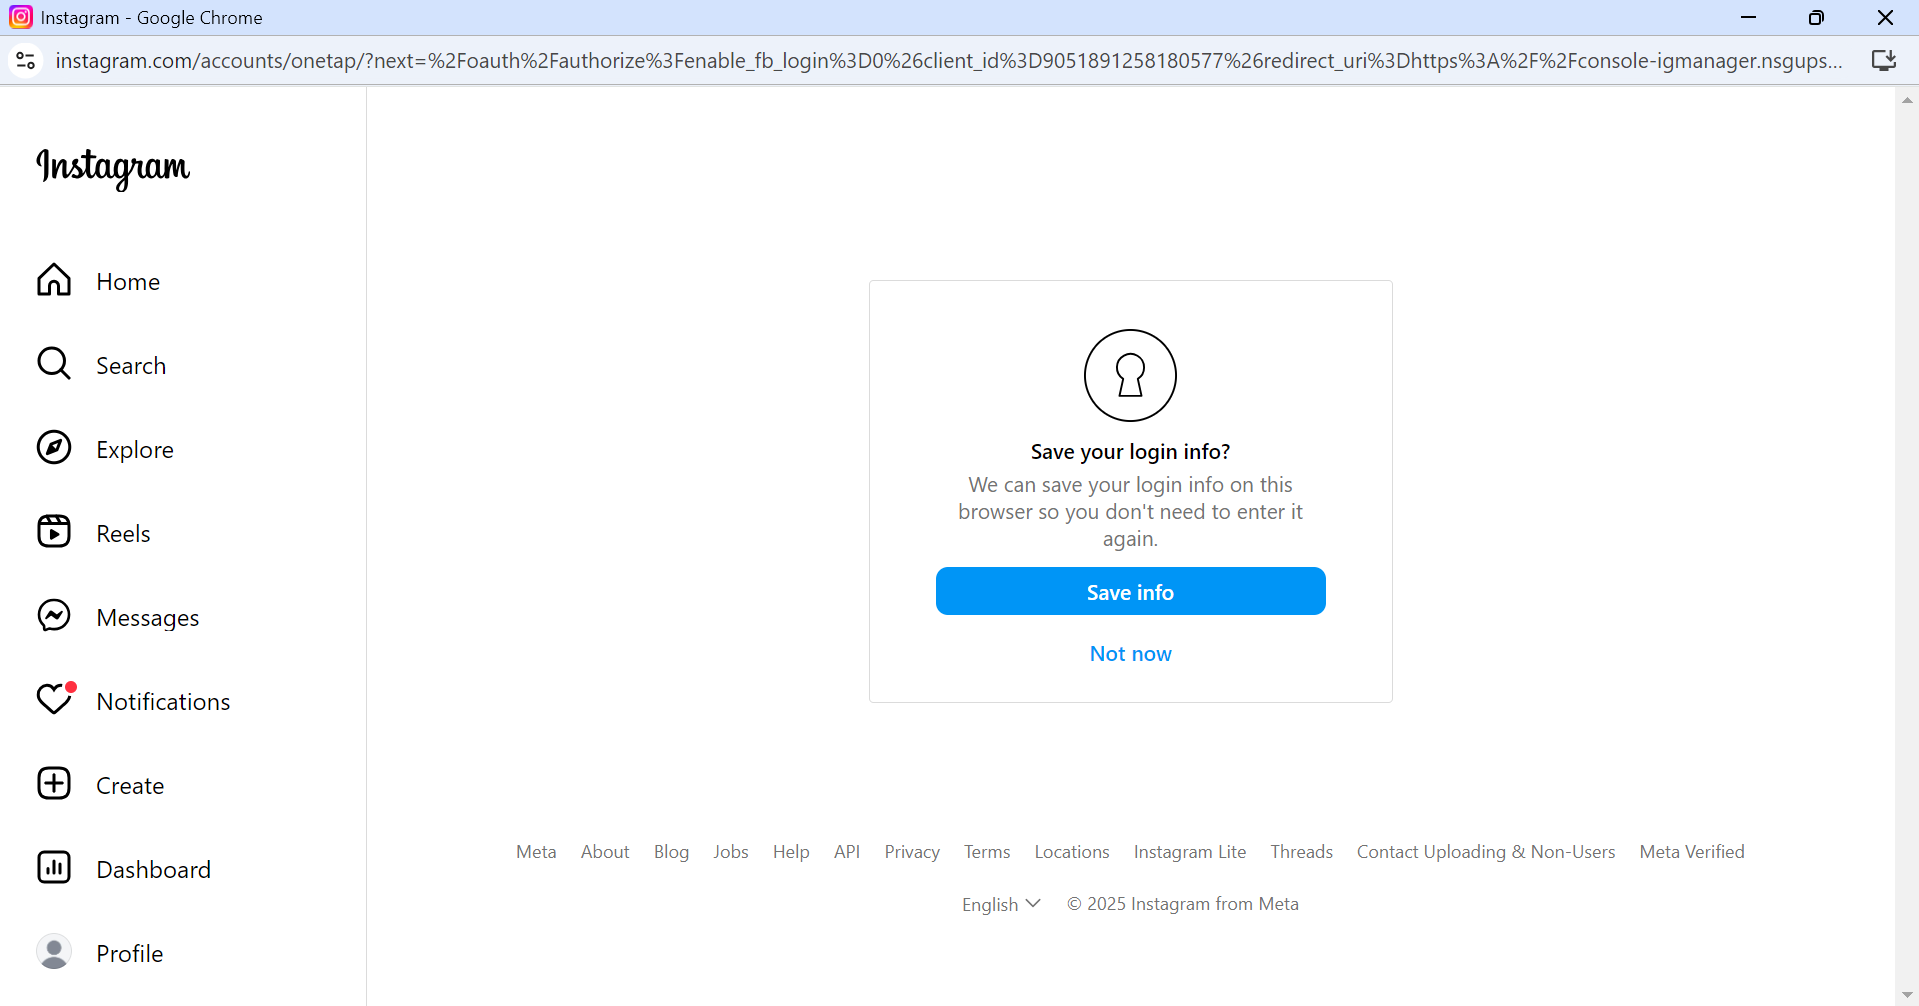
  • After logging in, you might be prompted to save your login info. You can select an option as per your preferences.
    • If you are not sure about what to select, click Not Now.
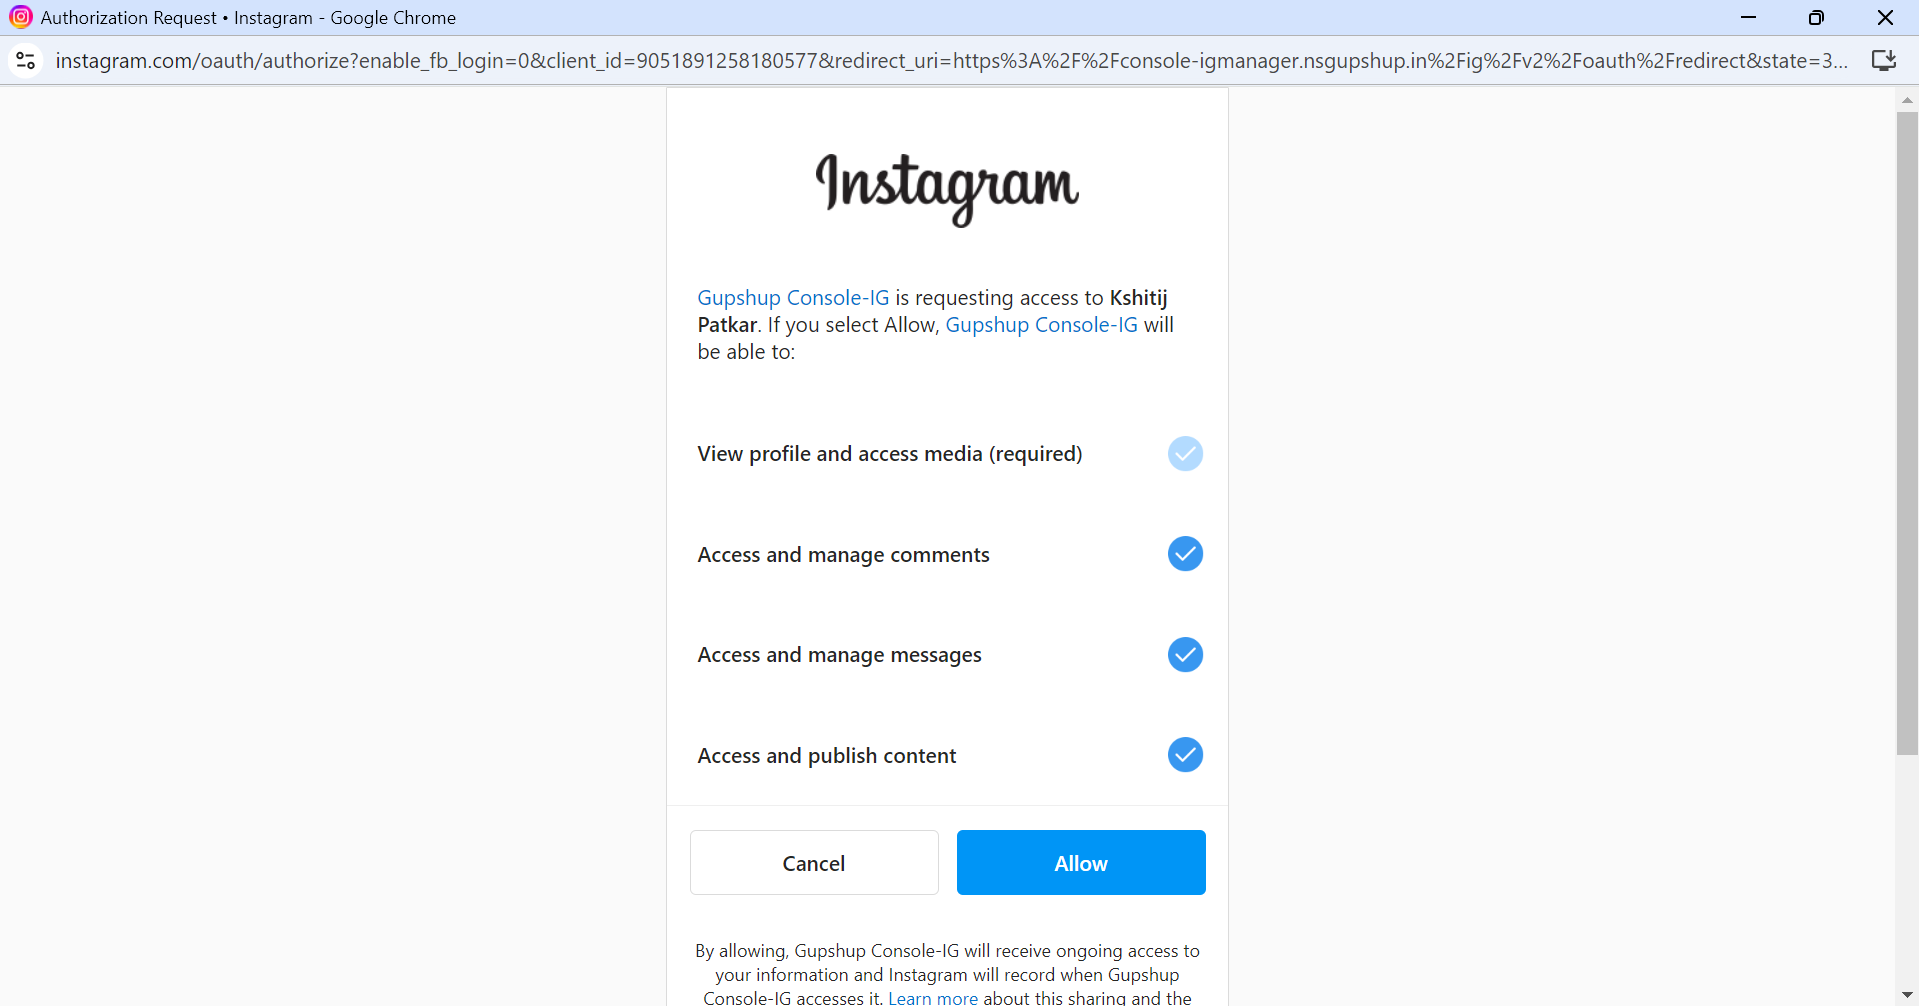
  • Ensure that all permissions are selected (ticked) and click Allow.
  • The new window will close automatically and you will be redirected to Instagram in Gupshup Conversational Cloud.
  • Click Next on the success popup to access settings where you can enable Instagram-only features such as Ice Breakers and Persistent Menu.

📘

Once you go live, all journeys in the Bot Studio will be active on your Instagram DM.

You can differentiate journeys between channels by following the guide here: Handling Multiple Channels.

🚧

By default, autoresponders are enabled once you go live with Instagram.

If you wish to disable them, you have to follow the steps mentioned in the guide below if you wish to disable them: Customizing/Disabling Autoresponders.

Still logging in with Facebook?

If you are prompted to log in with your Facebook account while linking your Instagram account with Gupshup, please following the steps below.

📘

Prerequisites

A Facebook account with:

  1. Full admin access to your Instagram account
  2. Full admin access to the Facebook Page connected to your Instagram account
  3. Full admin access to the Meta Business Suite (Facebook Business Manager) account connected to your Instagram account

Log in with your Facebook account

  • Log in to Gupshup Conversational Cloud and go to Instagram under Channels.
  • Click Go Live.
  • Click on Link Account.
  • A new window titled "Gupshup Bot is requesting access to" will open for you.
  • Log in to your Facebook account if not done already.

Edit Access

  • Click the Edit Access option present below all listed permissions.

❗️

If you selected the "Continue as...." button without completing the "Edit Access" configurations, the linking process might fail.

Please follow the steps for Unlinking your Instagram account and try to go live again.

Providing Facebook account access
  • There will be 7 sections in under Edit requested access. Enable the toggles as per the table below.
Section TitleEnable the toggle only for
1Manage your businessYour Meta Business Suite (Facebook Business Manager) account
2Access profile and posts from the Instagram account connected to your PageYour Instagram account
3Manage comments for the Instagram account connected to your PageYour Instagram account
4Manage and access Page conversations in MessengerThe Facebook Page connected to your Instagram account
5Manage and access messages for the Instagram account connected to your PageYour Instagram account
6Manage accounts, settings and webhooks for a PageThe Facebook Page connected to your Instagram account
7Show a list of Pages you manageThe Facebook Page connected to your Instagram account
Selecting Instagram business accounts

🚧

Enable only one toggle per section.

If you enable multiple toggles in any section, the linking process will fail as you can link only one Instagram business account per Gupshup project.

  • Once you are done, click the X icon present at the top right corner of the Edit requested access popup.

Go Live

  • On returning to the earlier page, click Continue as.....
  • Click Close.
Gupshup success message post linking your Instagram account