Creating A New Campaign
- Before creating a new campaign, you need to create a template and get it approved by WhatsApp. You can use WhatsApp approved templates to send the campaign. To create a template, go to Channels → WhatsApp → Templates → Create a template.
- After you create a template and it gets approved by WhatsApp, go to campaigns tab in the left navigation.
From the campaign listing page, you can click on “+ New campaign” CTA and go through a step by step flow to create a new campaign. - If the content or users are the same as any of the previously created campaigns you can clone a campaign rather than starting from scratch.
A new campaign can be created in just 4 steps -
Step 1 - Campaign details page
- In the campaign details page, define the campaign title.
- In case your WhatsApp Business Account has multiple phone numbers, select the appropriate number from which you would like to send the campaign.
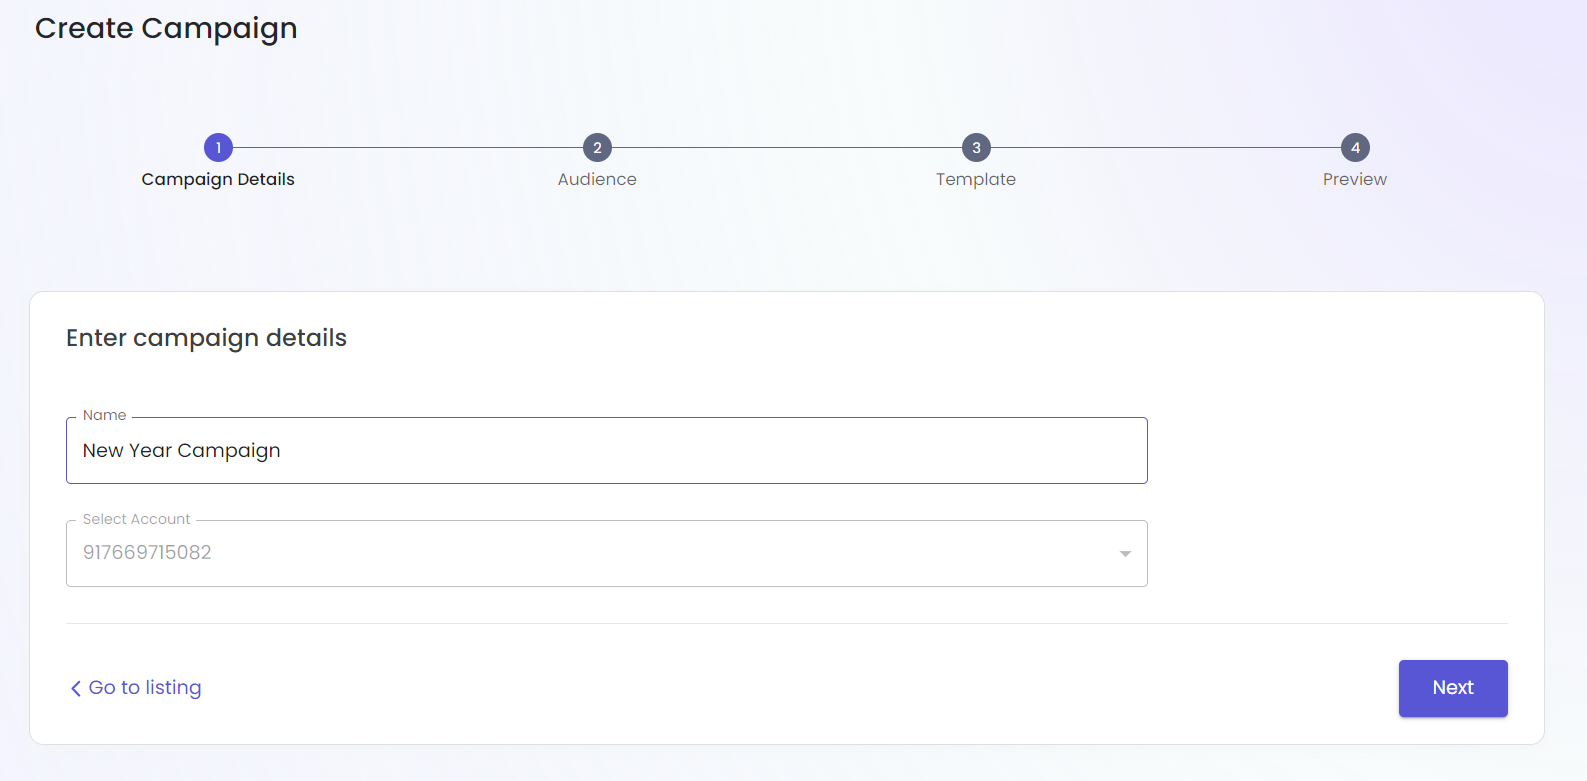
Campaign title and WABA number selection
Step 2 - Audience page
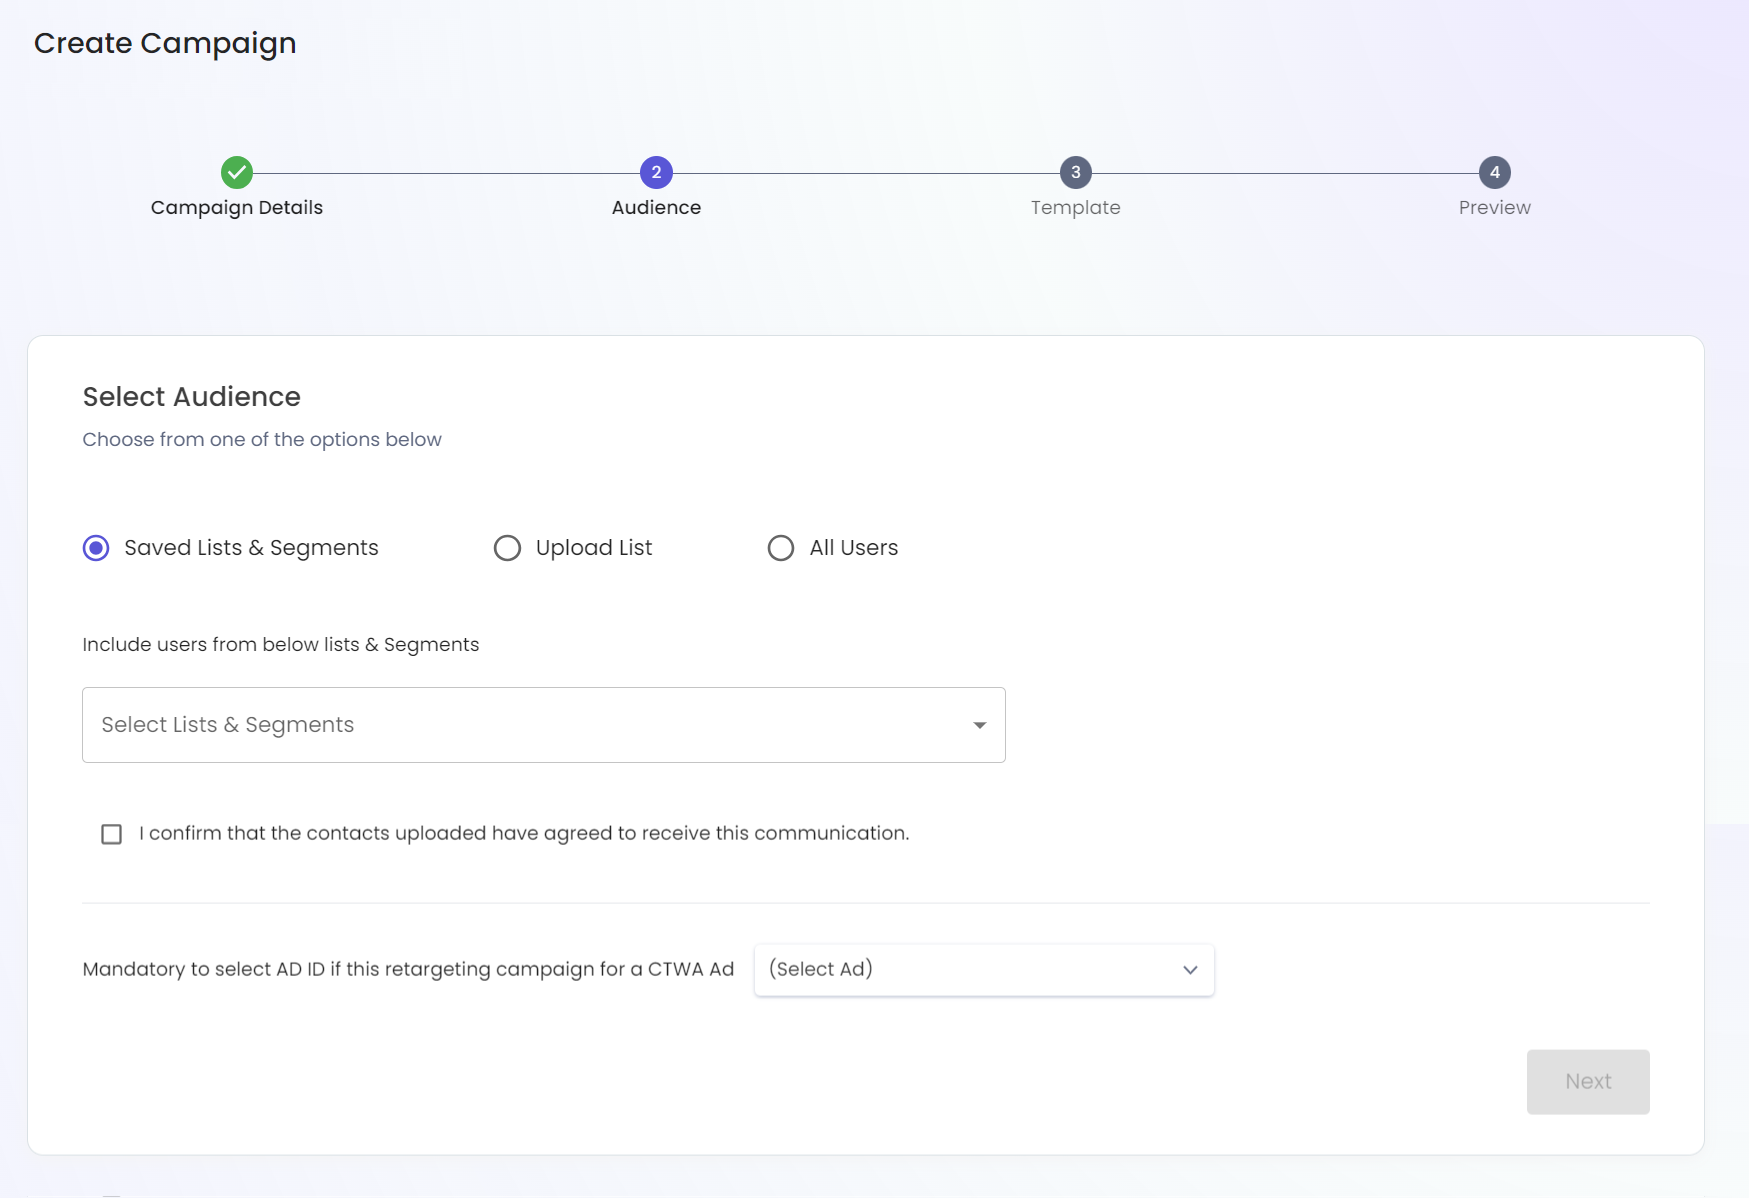
Audience selection page
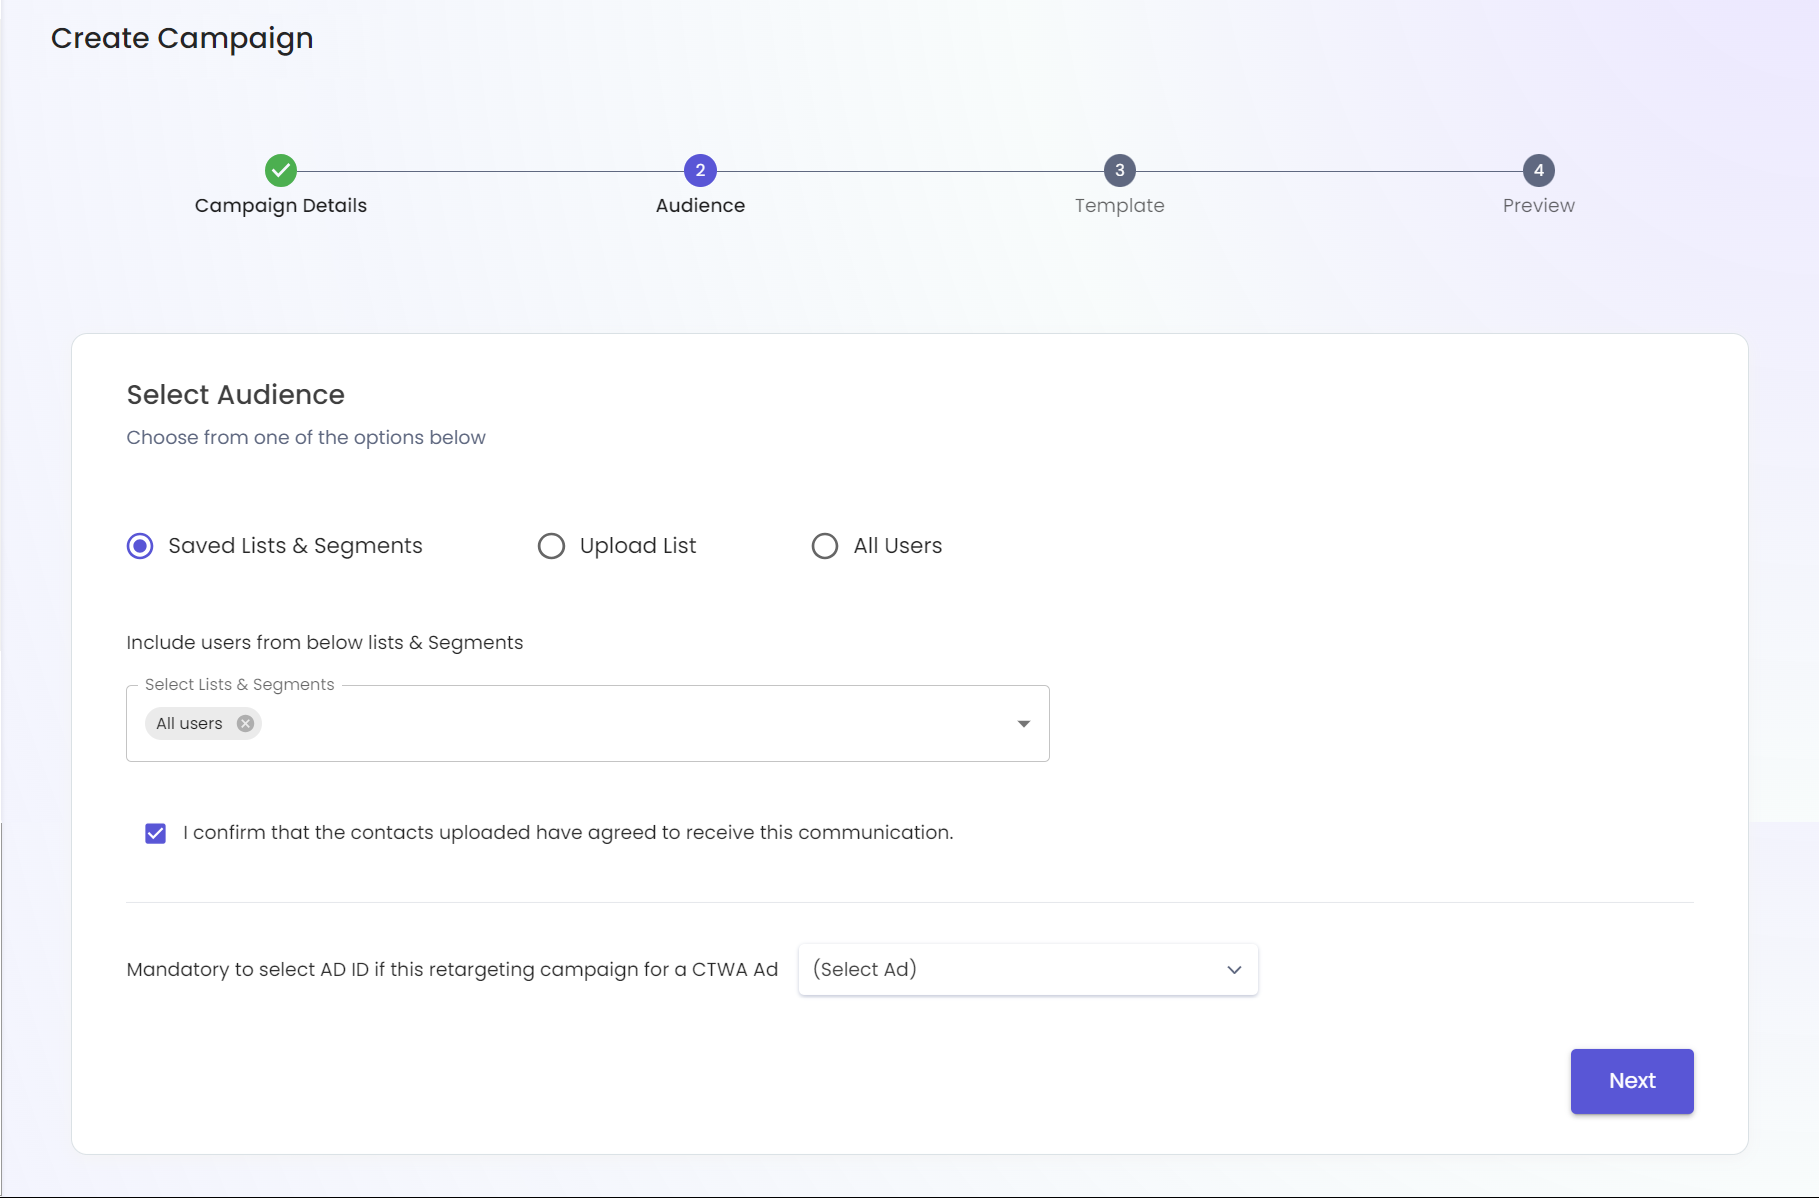
File uploaded and consent checked
- You can upload a CSV or XLS or XLS format file with a maximum size of 50 MB with appropriate column names
- Your file must contain a column named ‘Phone’ which should contain all the phone numbers to whom this campaign will be sent.
- Phone numbers should contain the country code without a prefix ‘+’, e.g. 918928075130
- You can also download a sample CSV and use it to build you audience and associated variables
- The columns in the uploaded file would be used to customize templates.
- It is mandatory to declare that the selected audience has opted-in before sending the message.
- Check the sample file below. Columns and information can be used to personalize the variables in a template.

Step 3 - Template Page
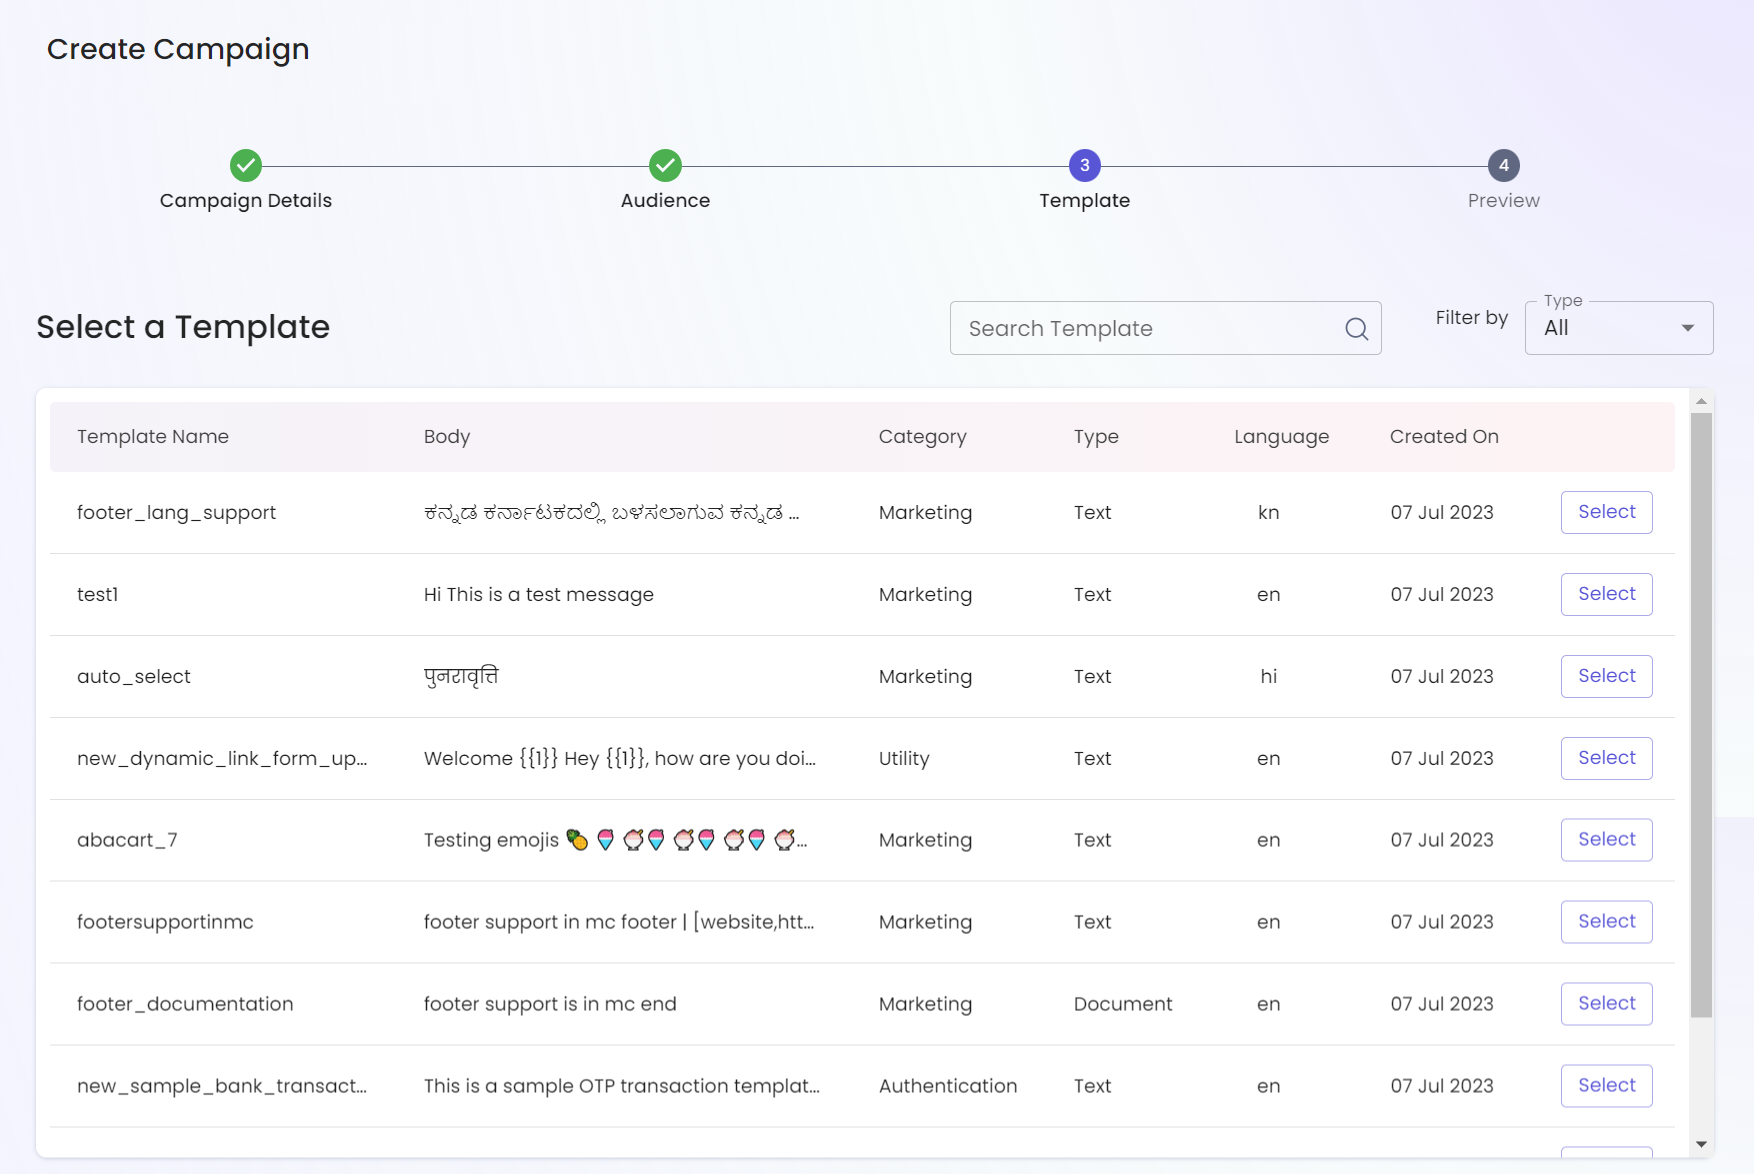
Select a WhatsApp approved template

Provide a publicly available URL and personalize the other variables by selecting from column headers or by fallback value
- In the template selection page you need to select a template from 1 of the pre-approved (by Meta) templates.
- You can define the variable values from the column names of the CSV, i.e. the column selected will be used to substitute the variable.
- It’s a good practice to define fallback values. In case no data exists and no fallback provided the message wouldn’t be sent to that particular number.
- If the template selected is a media template and you want to send customized media to all phone numbers, then mention the customized media URLs in the file uploaded.
- In case you wish to send one media file to all phone numbers, then mention the media URL in the fallback section.
- The media URL used must be publicly available. Google drive URLs or Dropbox URLs do not work. We recommend uploading the media on Amazon S3 or cloudinary.com.
- There are certain limitations in the format and size of media used which are as follows -
- For Image, formats allowed are JPEG and PNG and max size allowed is 5 MB
- For Video, formats allowed are MP4, 3gpp and max size allowed is 16 MB
- For Document, format allowed is PDF and max size allowed is 100 MB
- The CTA button links can also be customized for every user. You need to mention the value corresponding to the variable (ex - www.gupshup.io/{{1}}) in a column in the file uploaded and select that column for the given variable.
Step 4 - Preview page
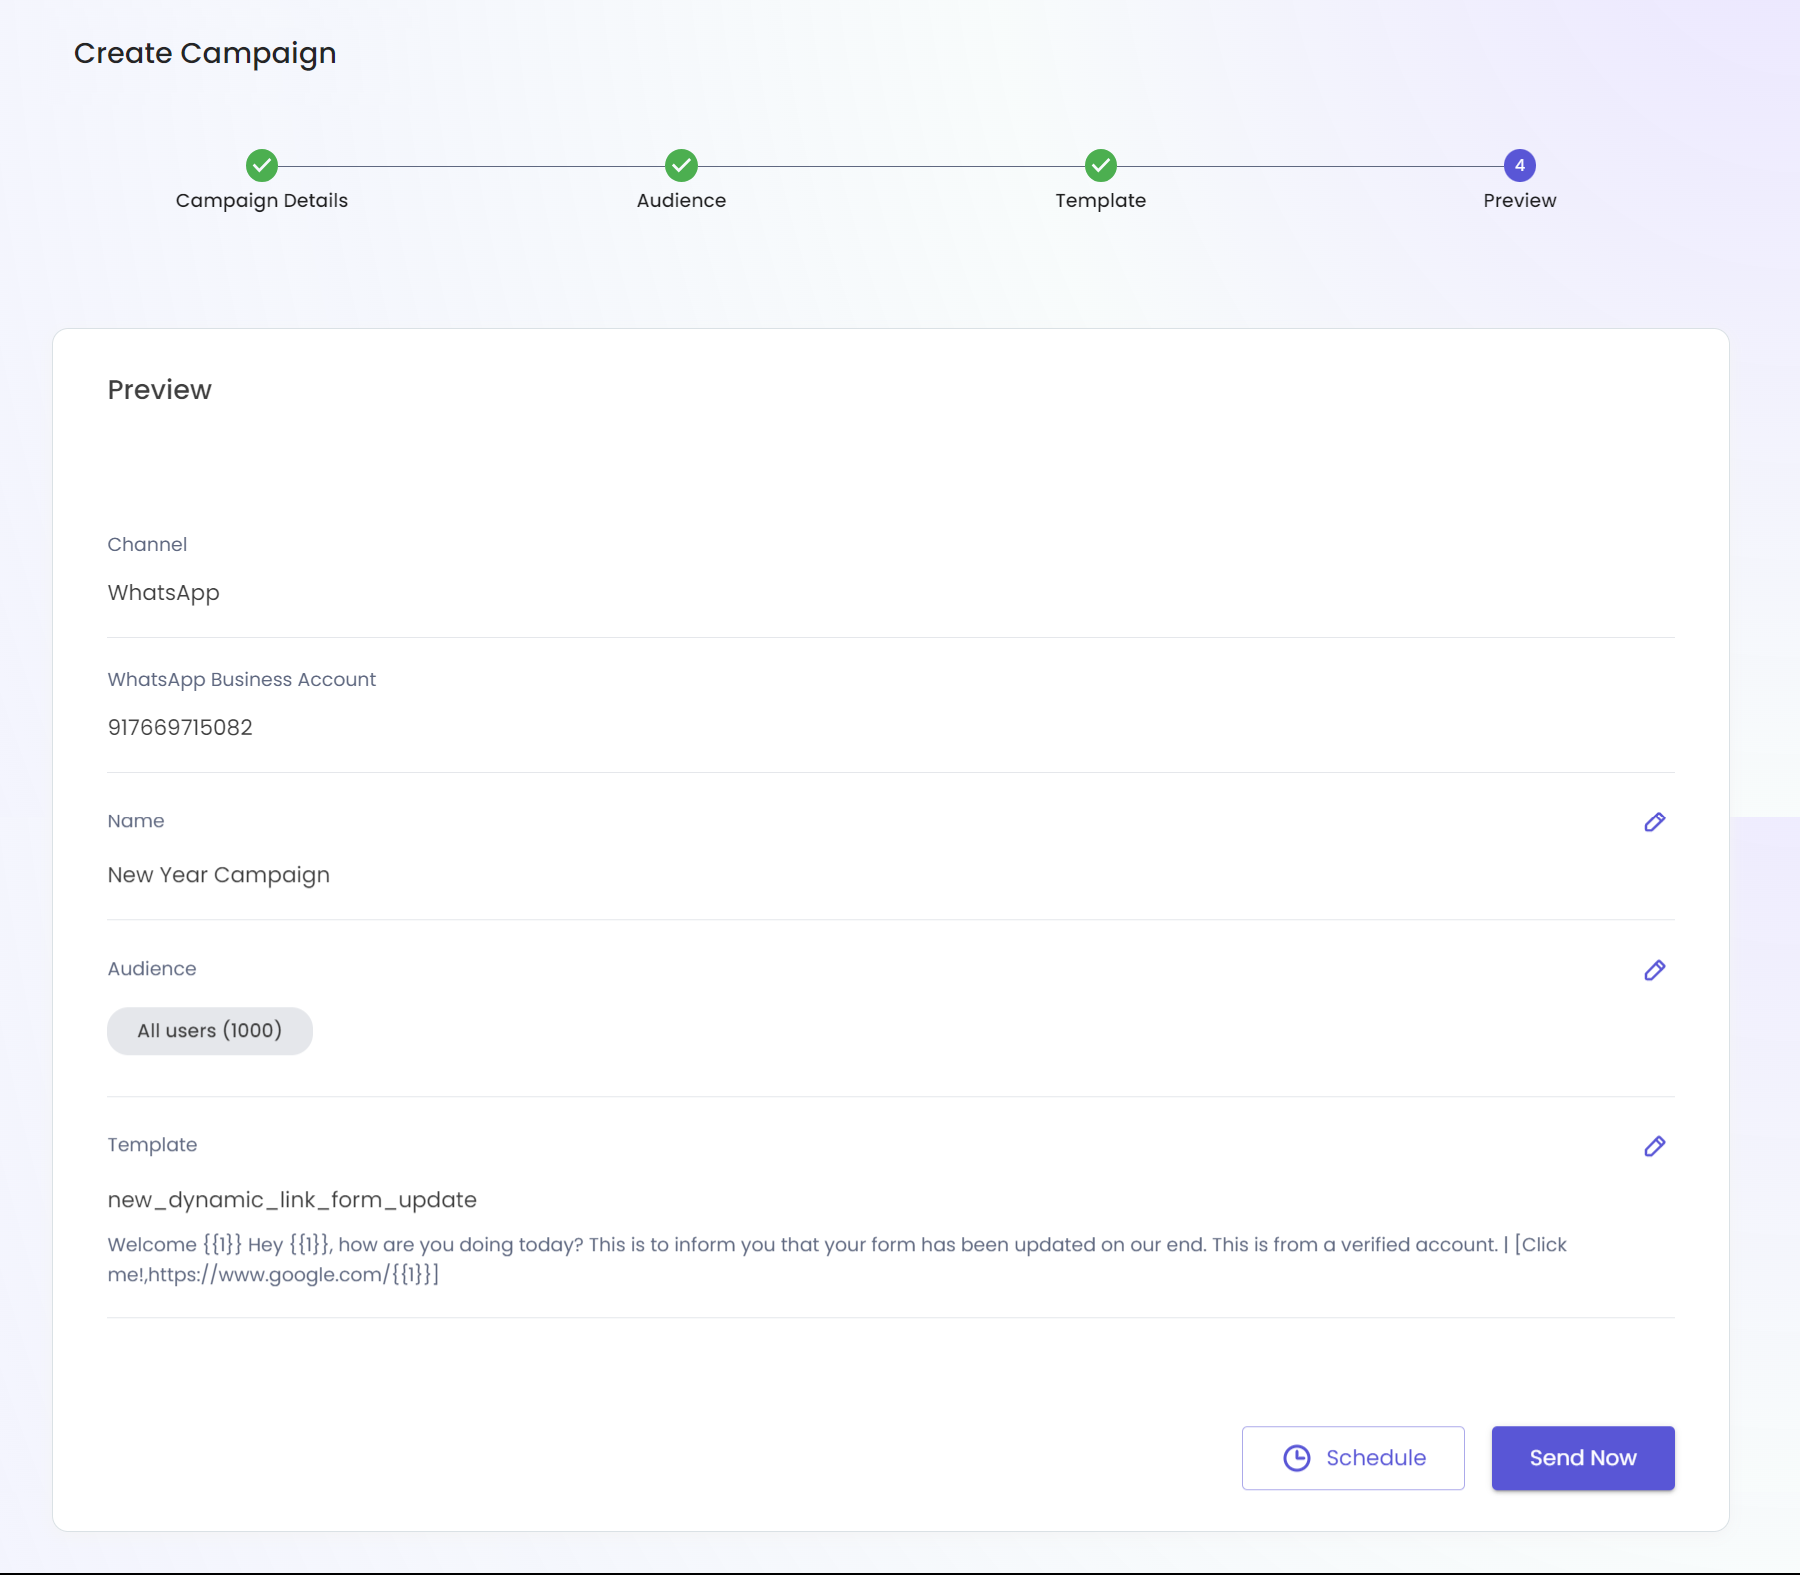
Preview page
- Preview page provides a summary of the campaign before it is scheduled, the goal here is to gain confidence before sending / scheduling the campaign
- Sending/scheduling a campaign - You can select the start date and time to send the campaign or you can choose to send the campaign right away by clicking “Send Now”
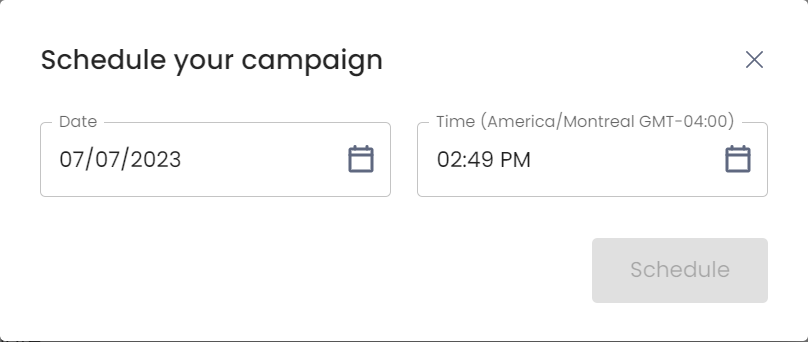
Scheduling a campaign
Updated about 1 year ago
Did this page help you?